Moms To Be

Travel Tic Tac Toe

Original DIY Tic Tac Toe travel game board from the 1990's

download (16).jpg

I loved this DIY Tic Tac Toe traveling game so much as a child that I still have the original game that I made.  It's super easy to make for your child and even with your child that you may feel brave enough to have a large group of kiddos over to instruct.  Adult Child Group Fun!  a.k.a. birthday parties, project parties, rainy days, etc.  The best part... The game board and playing pieces are made out of felt so that when playing in the car, the pieces are not lost. So clever.

I think I was about 6 to 8 years old, so I believe it was my awesome Sunday School teacher Denise Kistner who instructed our class to make this project.  I don't want to leave out Connie Hester either...just in case it may have been her as she was another one of my awesome Sunday School teachers.  Kudos!

Make it yourself using the instructions below.

download (17).jpg

The felt pieces don't fall off when tipped over

download (18).jpg

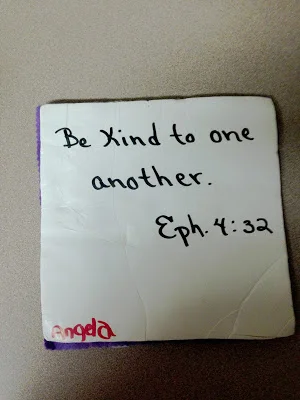
Write the kid's name and a message of your choice

Materials Needed:

  • Felt, 4 different colors
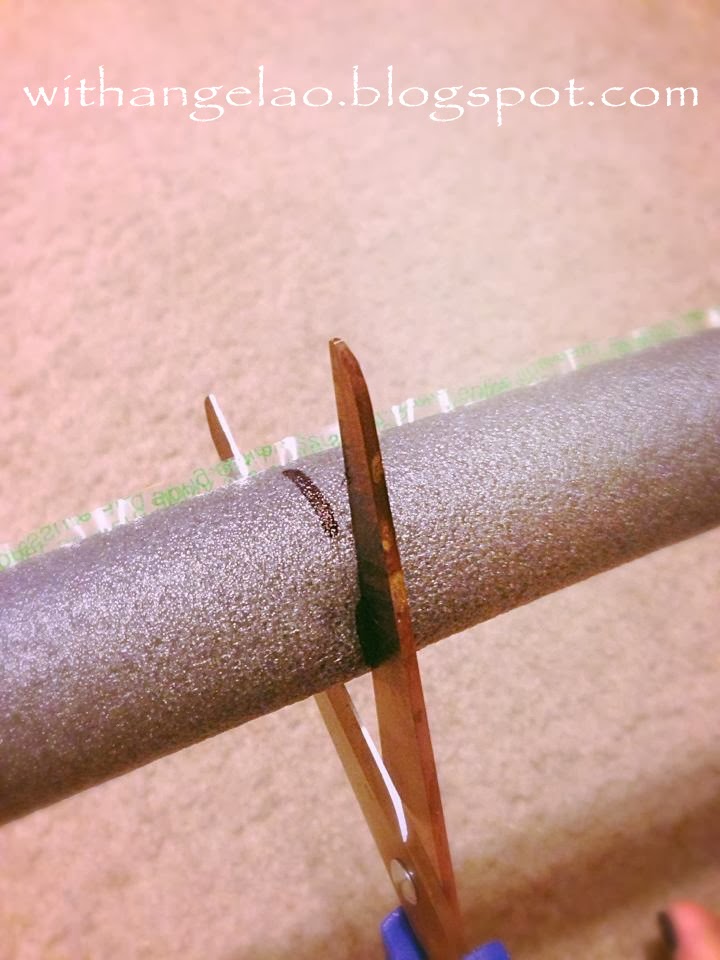
  • Pinking Shears
  • Foam Core Board
  • Glue
  • A Permanent Marker
  • Gallon Size Zipper Bag

Instructions:

  • Measure the foam core board to 8 inches by 8 inches and cut.
  • Write a message on the back on the side you have determined to be the back of the board.
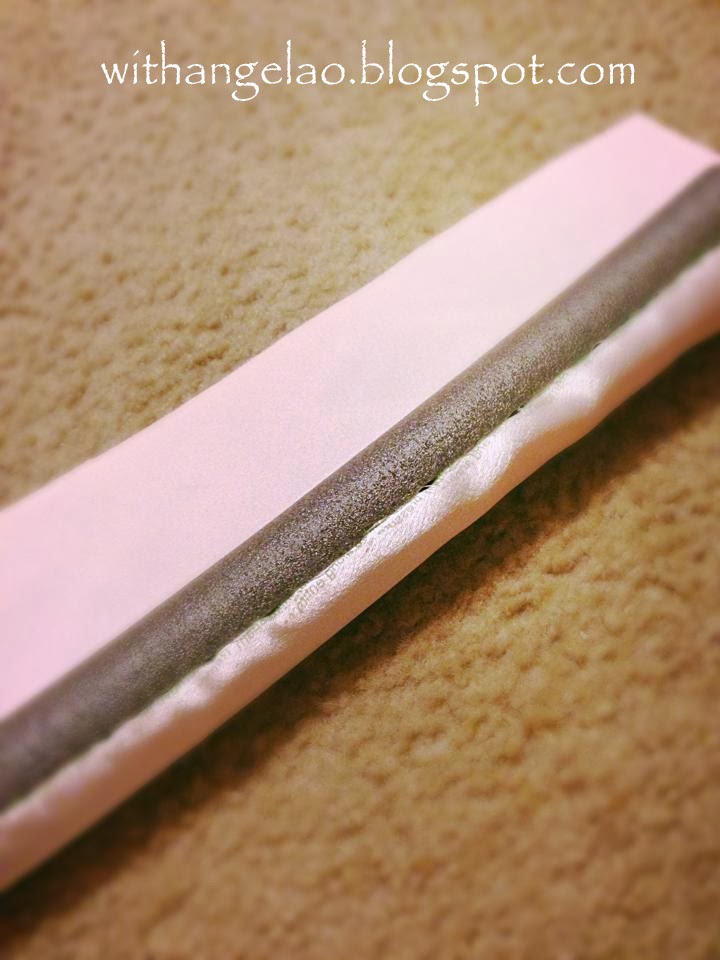
  • Measure felt color #1 and cut with the pinking shears. Approximately 8 inches by 8 inches (make sure it's large enough to cover the board!).  Once cut, glue this to the foam board.  Gluing it now will allow it to have some time to set prior to adding the next layer.
  • Measure strips from felt color #2 and cut using the pinking shears. Approximately 1/2 inch by 8 inches.  Not too thick, not too thin.  If the fabric is cut with the pinking shear points lined up then the width may go a little over a half inch, that is okay.  Make 4 of these.
  • Measure rectangles from felt color #3 and cut using the pinking shears.  Aproximately 1 inch by 1 3/4 inch.  Again this is approximate, the main point to remember is to make sure the pieces are large enough for hands to pick up easily but small enough for them to fit inside the tic tac toe boxes. Make 5 of these and perhaps one back up if you'd like.
  • Measure circles from felt color #4 and cut using the pinking shears. Approximately 1 1/2 inch by 1 1/2 inch.  Again this is approximate, the main point to remember is to make sure the pieces are large enough for hands to pick up easily but small enough for them to fit inside the tic tac toe boxes.  Make 5 of these and perhaps one back up if you'd like.
  • Glue the measured strips that you cut from felt color #2 to the felt covered foam board, using the lattice style method.
  • Do NOT put your foam rectangles/circles on the foam board until you know the board has completely dried.  You wouldn't want to accidentally glue pieces to the board making them permanently unplayable, would you?
  • When complete, store in a zipper bag and keep it in the family car.

With Angela O'

download (19).jpg
download (20).jpg

Make at least 5 pieces each shape

download (21).jpg

BAG IT AND STICK IT! in the car

DIY Baby Bumpers


Did you know that in some states traditional bumper pads are actually illegal to sell due to their lack of air flow babies get?

There are two alternatives:

1.  Mesh bumper pads that allow air to flow (but are kinda ugly)

2.  Wonder Bumpers (that cost usually over $300 to fit an entire crib)


The cards have been dealt and my friend's project has been completed and ready to share with the world!!  

Homemade Customized Wonder Bumpers for less than $95!!!


Thanks to my dear friend and guest on this blog Tracy Cook, you will now know how to make your own stylish baby bumpers!

Materials Needed:

  • 3/4 inch Self Adhesive Foam Tubular Pipe Insulation
  • Thicker Cotton Fabric or Felt (Choose one or two designs)
  • Coordinating Ribbon or Lace
  • Scissors
  • Measuring Tape
  • Hot Glue Gun (Don't worry...it is on the inside so baby can't get to it)

Step 1: Gather the materials.


Step 2: Measure the tubular foam.   Here we have shown 16 inches which is the half size for a standard crib.  Half size bumpers were convenient for this mommy because she did not want the bumpers to be too close to Finleigh when she needed to drop the crib into a big-girl bed.  However, you may choose to have your crib bumpers at full length of 32 inches for the 32 inch rails.  It is simply personal choice.


Step 3: Cut down the tubular foam to your specified size.  Remember 16 inches or 32 inches.  Whichever is best for you and your baby.


Step 4: You should end up with a pile like this.


Step 5 Cut the fabric to the diameter of the tube.  Begin by putting the fabric on one side of the slot but be sure to leave some excess at the end.   Remove the adhesive film.  Wrap it around the foam, tucking the fabric edges into the open slot down the center of the tube.  The fabric should adhere to the adhesive.  Once done you may cut the fabric to the length of the tube leaving about one inch to one and a half inches of spare fabric at each end.


Step 6: It should look like this when you are done.  


Step 7:  Now take one fabric covered tube and place it on the crib rail.  Have your hot glue gun heated and ready to go.  Next you will need to add some hot glue to the inner portion of the tube where the excess fabric is located, then tuck the fabric ends inside.  Yes you will be doing it while the covered tube is on the crib.  This seals the bumper and prevents the fabric from fraying.  Take care to not get the excess glue on the crib rails.  Repeat this step to seal off the opposite end of the bumper.   Once complete with this one rail, repeat step 6 for each of the crib rails.  IF you have chosen to use two different fabrics then take the first fabric and do every other rail like below.  Then follow by adding the second fabric to the remaining rails.  **Note the glue should be on the inside so that the baby cannot access it**


Step 8:  Once complete tie ribbon to the tops of the bumpers.  The bow ends should be on the outside of the crib rails so the baby does not pull them.  TaDa!  Beautifully done.  See how mommy Tracy used the two different fabrics in a coordinating way?  Pink solid with a white and pink print.