Gift Ideas

Fresh Dill Butter

What do you do when you have an entire bunch of fresh organic dill weed delivered to your door step?  Make dill butter of course!!!  Just use one pound unsalted butter, flake sea salt, and fresh dill then blend with mixer and place into four 4-ounce mason jars.  

P.S. It makes a great hostess gift!  Do an assortment of flavors to hand out for Christmas!

~ Angela O'

download (1).jpg
download (8).jpg
download (9).jpg

Not Gun Shy at Christmas

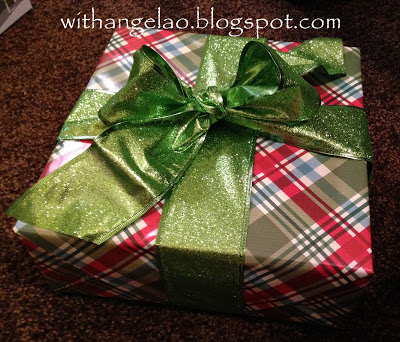
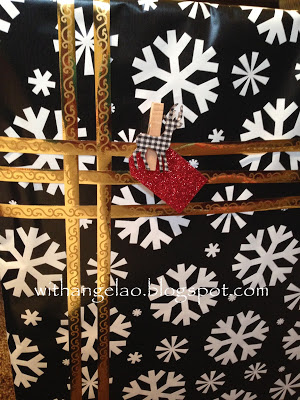
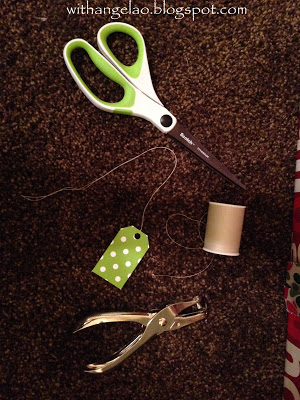
When it comes to wrapping gifts for Christmas, I am certainly not gun shy.  Each year I wrap hundreds of gifts (personal and professional) and it requires some creativity.  I certainly want each gift to look their best and be individualized.  However, when using the full glitter wrapping paper no matter how beautiful it may be it is complete pain in the next to work with.  Because of the layers of glitter and adhesive used in the manufacturing process of that wrapping paper roll it does not want to stay folded and even worse no tape will hold it in place.  That is when I pull out the big guns!  A hot glue gun, glue sticks, extension cord and poster board save the season.  I may come out with a few burns but I gotta do what is necessary!

Well, another trick to add to the list.  Check.

download (25).jpg
download (26).jpg

Check out those perfect glitter folds!

download (28).jpg
download (29).jpg
download (30).jpg

Girlie Girls & Hair Bows

Hair Bows that are super easy to make!  Most of the materials you probably already in your home.  My now Arizona-based friend Michelle Pettit and I got together one night to make these for a private elementary school's fundraiser.  It was so much fun!  

A sampling of the creations are below.  We did this last October so you will notice that the holidays are making an appearance in a couple of the designs.

Materials Needed: Ribbon, Hot Glue & Hot Glue Gun, Barrettes, and Embellishments


Created by Michelle Pettit

Created by Angela O'


Created by Angela O'

Created by Angela O'

Created by Michelle Pettit

Created by Angela O'

Created by Michelle Pettit

Created by Michelle Pettit


Newborn Date Night kit

When you have great friends that have become brand new parents, it is common to feel a little helpless in the first few months as they are adjusting to a new routine.  One way to help them feel a little bit in the norm is to provide them with a stay-at-home-date-night kit.  Recently, a pair of our Austinite friends had a baby and the poor little guy was so fussy that we didn't see them after leaving the hospital again till the first six weeks went by.  So we dropped off a little surprise basket at their doorstep to wish them well.  Try it sometime, it's fun!  


Hand-Dipped Pretzel Rods


Today I made hand-dipped pretzel rods for a cookie exchange.  The process was a lot of fun but did require a lot of patience and detail.  They were a hit tonight and someone even placed an order with me to make them as their gifts to give this week.  What a great night I had with everyone at Lori Post's house.  Thank you so much for your dear hosting!  As always you were wonderful.

What you need:
*Pretzel Bags with Ties
*Pretzel Rods
*Dipping Chocolate - White, Milk Choc, etc
*Decorative Toppings - Andes Mint Chips, Peppermint Chips, M&M minis, Hand-Dyed Coconut Flakes, 
*Icing Bag to Drizzle Chocolate, optional 
*Wax Paper

To Do:
1.  Assemble all of your decorations on flat surfaces ussing cookie trays, serving trays, pizza trays, etc.  Put down sheets of wax paper on the trays, then place your toppings on the wax paper. 


2.  If you are going to hand-dye coconut do that first because you will need to have time to toast and cool down.


3.  Lay down sheets of wax paper on your counter or table so that you can put your dipped pretzels on them to dry. 


4.  Melt your chocolate, either in microwave or double-boiler depending on what type of chocolate you have purchased.  Make sure you get a good chocolate that is not too waxy and tempers properly.  It is a little more money but in the end you will be thankful for how your pretzels turn out.  I use the A'Peels by Guittard Chocolate Co which require no tempering and can be heated in the microwave.  I purchase them from the Austin bake shop, Make It Sweet.


5.  Then dip!  Dip pretzel into chocolate, tap pretzel and drizzle off excess chocolate back into dipping bowl.  You will need to let the chocolate cool on the pretzel slightly before rolling in the toppings.  Otherwise, all of the toppings will fall off the hot chocolate.  You may also choose not to roll in topping and instead drizzle a contrasting color of chocolate on top.  


6.  Let cool well, then bag individually.


Tips:
*You will need about 20 to 25 pretzel bags for one bag of pretzel rods.
* Use a tall and narrow bowl or large mug that you can easily dip the pretzel into rather than have to lay down and scoop chocolate in.
*Bag pretzels individually to keep toppings on and to keep presentation in tact.  Also a better way for those receiving to pick up.


Snowman Buttons


This one is very easy.  Great for classroom parties, coworkers, guest room fluff, and well just for your good ole friends.  It's cute, what else can I say.  This year I made them to hand out at a cookie exchange and to give to a few friends too.  O' I love to create.

Supplies Needed:

* 4x6 Clear Treat Bags 
*Stapler
*Hot Glue Gun
*Scrapbook Paper, Xmas Color or Xmas Pattern
*Giant Black Gumballs 
*Avery Printable Labels
*Opaque Paint Marker

Tips

-Get the 4x6 clear treat bags at a craft store like Michael's and Jo-Ann's.  
-Find the giant gumballs by the color online or at a party store like Party City.
-Put just 3 gumballs in each treat bag to look like the 3 buttons on the snowman's jacket.  


DIY - Holiday Gift Tags

A super easy way to put a unique spin on your holiday gifts this year.  Just make your own gift tags.  You can chose any method you like.  Use ribbons, scrapbook paper, glitter or whatever you find around the house.  Heck why not try birdseed.

See below!  Super Easy.


What you need:

  • Blank Gift Tags (various sizes & colors available at your local craft store)
  • Glitter, Ribbon, or Scrapbooking paper
  • Glue/Glue Pen
Voila !!


DIY - Sugar Scrub Hand Exfoliater


What You Need:

- White Sugar
- Body Oil
- Jar with a Screw Top
- Something to stir with; Knife, Popsicle Stick, etc

1. Scoop the white sugar into the jar filling approximately half way. Loosely; No need to pack.

2. Add the body oil on top so that the jar is about 3/4 full.  

3. Stir; Carefully so not to spill

4. Each jar will be different because of the size you choose so you can add a little more body oil if necessary. You want a bit of excess oil compared to sugar so that the sugar mixture will have a coarse liquid consistency.

5. Enjoy!! Each time you use you will want to stir as the sugar will settle to the bottom. Put a small portion in your hands and then rub, sloughing off dry rough skin. After, rinse your hands in lukewarm water. Pat dry. Immediately use hand lotion; Determining the thickness and healing style of your choice.

Tips and Tricks

1. Don't use salt in place of sugar. Salt scrubs will burn any open skin, cuts, and wounds you have.

2. If you want to recycle then use some light massage oil or cuticle oil that is already under your bathroom sink going unused.

3. Either purchase a jar with a screw top or reuse an old, clean jar with a screw top. The screw top will help prevent any leaks.

4.  The bigger the jar the less you will have to refill; however keep in mind to test a little first and see if you like the oil and/or scent.  If not try a different type of oil/scent and if you only filled a small jar first there will be less waste.